Posts

Showing posts from 2018

New Years, Life Organization & Bullet Journaling

Image
Confession time. I have a thing about office supplies. Journals, colorful pens, decorative tape dispensers, sticky notes with cute sayings... I'm a sucker for all of it. I love organizational tools too. I don't always use them but I have them just in case.  This year I am not doing resolutions. I really quit that a few years ago. Instead, I want to make new habits and see progress. Perfectionism has been a problem for me and this method is one way I can stay out of that never-good-enough putting-too-much-pressure-on-myself loop so I can actually get things done and move forward.  The first page of my first bullet journal. Planners are a way of life for me. I use the Google calendar and regular planner. It seems like double the work but for me, it is very helpful. I like being able to quickly put in an appointment on my phone and later putting it in my journal style planner and to see the big picture and plan out the future.  ...
Peppermint Bark Pretzles

Image
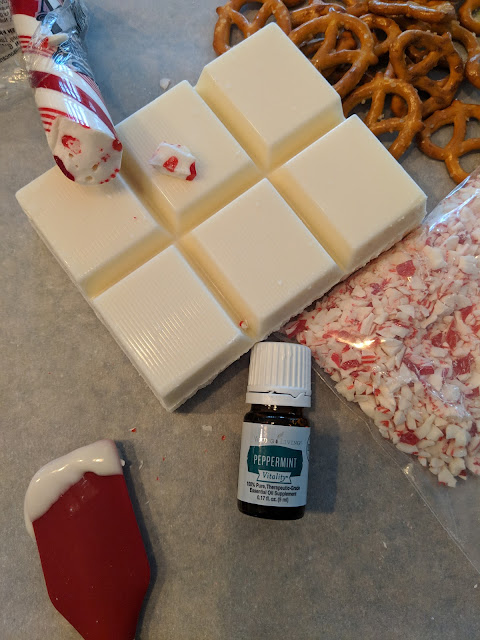
We made these sweet treats to give away this year.  Ingredients: Almond bark, mini pretzels, crushed peppermint candy, and 1-2 drops Vitality Peppermint oil from Young Living. If you want to know more about cooking with essential oils click here! I started with half the package of almond bark broken into chunks in my 2 cup pyrex measuring cup. Set the measuring cup into a small pot of water on the stove on low-medium heat (double boiler). Stir occasionally. Once fully melted remove the measuring cup from the water. Now is the time to drop just one to two drops of your Young Living Peppermint Vitality Essential Oil in.  Drop in a few pretzels at a time to coat. My favorite tool for dipping pretzels is a stainless steel chopstick! Lay the coated pretzels on parchment paper and sprinkle with the crushed peppermint candy.  Once cool, I packaged them in cellophane cones and tied with a cute curling ribbon. These were sim...

Beauty Hack - Making Tinted Moisturizer

Image
I have hardly ever worn foundation as an adult. It didn't matter what I chose it sat on my skin looking like a mask or crept into every little line and wrinkle emphasizing what I wanted to downplay.  Dry skin didn't make the issue any better. Plus I have sensitive skin and most makeup would make my skin burn and rash.  I have been a lipstick and mascara girl forever out of necessity. I owned way more skin care products than makeup.   WELL! Then Savvy Minerals happened.  I had no bad reactions at all. Give me all the makeup! This was so exciting. I do still have dry skin however and powder makeup on dry skin needs lots of moisture. Here is my hack. Take your favorite YL moisturizer and sprinkle in Savvy Minerals Foundation.  I am currently using Sandalwood Moisturizer and Cool #1 foundation.  If you need a bit more coverage once you have applied the moisturizer you can layer more of the powder.

A Guide to Moisturizers and Lotions from Young Living

Image
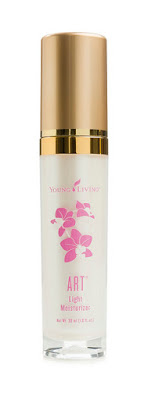
Young Living has a moisturizer or lotion for every occasion and skin type!  If you are like me I need lots of help in the winter months to combat the dry cold air's effect on my skin. Let's start at the top or face.   For those who need light coverage, or have oily skin the ART light moisturizer will fit the bill. It is a great one to put on before applying makeup too. This little serum can be applied directly to your face, or added to your favorite moisturizer. You will notice how soft your face feels it will not make you oily! just  balance out the dryness. The Wolfberry Eye cream is a small and mighty wonder! Apply to soothe the appearance of tired eyes and reduce the appearance of fine lines. For those of us with more mature skin, this is a must-have!    It contains frankincense and goes a long way. My first little pot of this lasted about 6 months and I used it on my neck too. ART ...

Simple Custom Art with the Silhouette Cutter

Image
I am still working on making my Kansas house feel like home. The more of my own creations I incorporate the more it becomes home.  This is my inspiration. I actually just started playing around with fonts and colors to get a general idea.  It is so easy to design a simple stencil on the Silhouette! This is a 36x24 inch canvas. I painted the area I want the stencil to cover in gold metallic and let it dry. You can see the stencil tucked under the canvas. Next, I started dropping the colors I wanted to blend along the top.  These are the colors I chose plus black and white in case I needed them.  Vinyl doesn't stick very well to canvas or painted canvas. You can use a spray adhesive to help. I chose to just be careful and brush gently.  This is just a dry brush with strategically dropped paint.  It says "savor" and ties all the colors together on the main floor of the house. Don't forge...

Making Tab Backed Curtains

Image
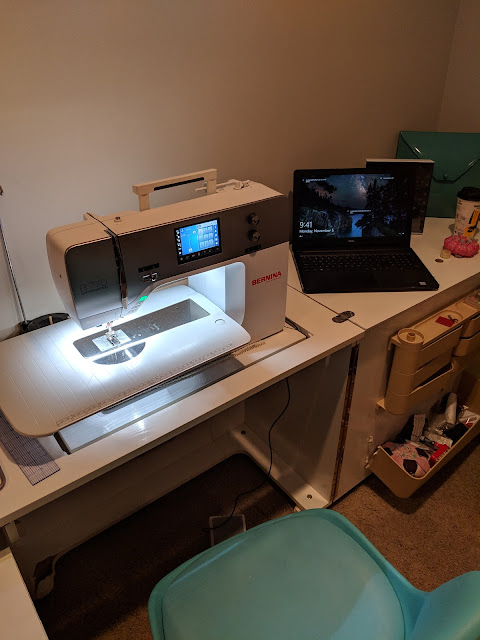
It takes a while for a new house to feel like home. For me, it is all the personal touches.   I finally got my sewing space set up so I can work again! This room is larger than my last one but it is in the basement and has NO windows! UGH! I am so thankful that the Bernina has so many wonderful lights on it or it would be a nightmare to sew in there. I am working on getting some better light and we will eventually open up the rest of the basement allowing natural light in. This is a lovely Waverly fabric I ordered online. Our new house has high ceilings and I needed 9 yards to make two curtains! 😲 I also bought 9 yards of plain curtain lining. It is actually very easy to make lined curtains. A lined curtain will last longer, hang better from the rod, and block light better. Plus, it just looks finished and professional. I chose to make the tabs out of the lining to conserve the more expensive fabric. I want to make a few throw pill...