Posts

Showing posts with the label DIY

Short Sleeve Pattern Making
Image
I make four short-sleeve styles this week and show all the basics. If you are wanting to alter and create a sleeve, this video has all the vital details to get you started!  Sleeves styles shown are bell, a lantern with cuff, leg of mutton style puff with a facing, and traditional puff. Looking for the supplies video? 🠟 I have a few more patternmaking videos on my channel too in their own playlist!  🠝 click here 🠝

Kwik Sew 2589 ~ Bias Cut Camisole

Image
  A simple camisole is a staple foundation garment. It can be worn under other tops, sweaters, with a jacket, or as part of a pajama set. This pattern includes a slip, cami, and shorts and comes with all sizes in the envelope. This is a great beginner project that doesn't require much fabric and no fasteners! Click through to watch on YouTube for timestamps.

Burda 6590 Sewing up one of my favorite, fast patterns!

Image
I have made this pattern so many times! It is flattering and fast. My go-to when I want a new little top. This is a project you can make in one sitting but will be your favorite new top! I have some cute new designs in my TeeSpring shop too! Check it out!  

Pillows and More ~ Sew with Me

Image
This week I update some of the decorative elements in my bedroom. I make pillows and a lampshade! The fabrics are from JoAnn and Fabric.com. The trim on the pillow is from Trims By The Yard . The trim on the lampshade is from Hobby Lobby.

Sew With Me ~ Simplicity 1463

Image
It feels so good to be back at the sewing machine. I am sewing up my stash while social distancing. This week we will make Simplicity 1463. The fabric and pattern are both currently available. The fun fern fabric came from JoAnn Fabrics. If you click through to watch the video on youtube there are timestamps in the description. Sewing Machine: Bernina 770 QEE Serger: Bernette 334DS

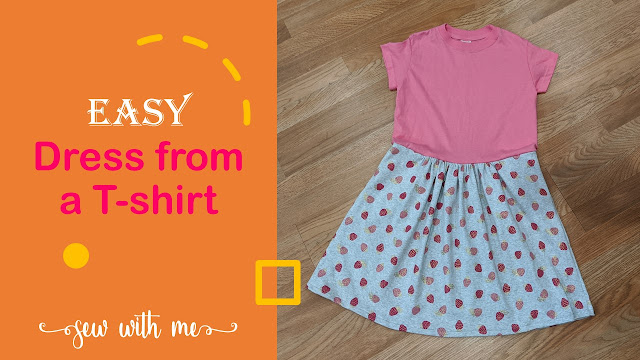
Easy T-shirt Dress - Sew With Me

Image
This fast project takes a t-shirt you already have and about a half yard of fabric depending on the size. For this dress, I used a size 10/12 child's t-shirt and a half yard of 60" wide knit fabric. Options: If you choose to use a cotton woven fabric you will need the skirt length twice for this size or larger to get enough gathers. A baby size could literally use a 1/4 yard of fabric or less. This project only took about 30 minutes. TeeSpring Shop

Stuck at Home (little projects that use scraps)

Image
This week lets do some simple projects that use up some of our stash or scraps!  I made some masks for family members using one of the many tutorials already out there. I also share some of the pincushions I made and what projects to look out for next week! TeeSpring Shop Get your own Essential Oils

Sewing Basic Underwear ~ Simplicity 8229 ~ Things I will change next time.

Image
Sew with me a basic pair of underwear! This time we sew up Simplicity 8229. I will show you all the basics of construction and what I did and didn't like about the pattern and things I would change for the next sewing. * If you are sewing along with me, consider cutting the elastic shorter than the pattern recommends. See the end of the video for a full explanation. If you click through to YouTube The video description has clickable timestamps. Pattern changes (:15) Tracing off sizes (2:11) Cutting out(2:49) Finish edge of lining (3:07) Pinning lining for a hidden seam (3:37) Side seams (7:12) Undies before elastic (8:46) Measuring elastic (9:38) Pinning elastic and quartering (12:32) Serging elastic (16:21) Pinning elastic for topstitch (21:58) Testing topstitch settings (22:35) Finished garment and what I would change (24:17) Sewing Machine: Bernina 770QEE Serger: Bernette 334DS Pattern: Simplicity 8229 The fabric and pattern are from JoAnn Fabric...

Underwear Part One ~ Basic Pattern Altteration

Image
I L🤍VE sewing my own underwear! It is not hard at all and you get to make exactly what you want and fit it to your individual shape. If you struggle to get a pattern in your size this is the tutorial for you. I show a basic way to size up for plus and down for those of you who are really petite. Supplies needed: Butterick pattern # 6031 tape colored pens tissue paper ruler scissors

Fast Sew Zipper Pencil Bag ~ Sew With Me

Image
This is such a fast and fun project you will be making zipper bags for everyone you know! Supplies needed: 1/4 yard cotton fabric for the outside of the bag 1/4 yard cotton fabric for the lining 1/4 yard fusible interfacing 9 inch or longer regular zipper 9 1/2 inches elastic Straight pins Thread How to prep your project Cut 2 rectangles 9.5 inches by 4.5 inches of both fabrics and the fusible interfacing. Fuse the interfacing to the outer fabric You are now ready to follow along with the video!  The video will show how your rectangles should look. This project usually takes me under 20 minutes from start to finish if I am not filming it. For beginning sewists, expect to spend 45 minutes to an hour to complete the first bag.  If you click through to watch on YouTube there are timestamps in the description.

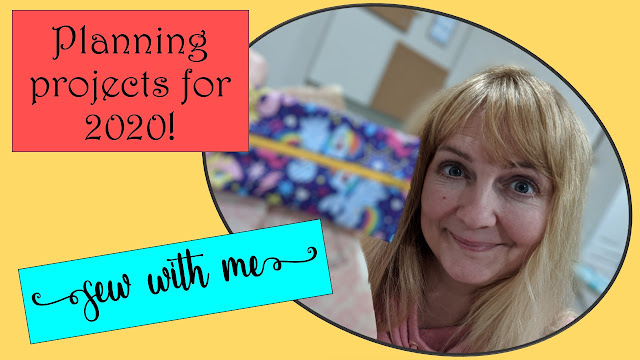
Project Planning for 2020 ~ Sew with Me

Image
🎇Happy New YEAR!!! 🎇   Click below for my vlog on projects for the new year and some sewing related gifts I got.  I have sooooo many ideas and would love to hear from you. Please let me know if there is something sewing related you would like to learn about.  Check back next time and make a little pencil zipper bag! Find more sewing videos here:  Sewing and Such Video Playlist See some of my projects for sale: My Etsy Shop RobbinsNestStudio Find fun sewing related gift-y things:  TeeSpring Shop

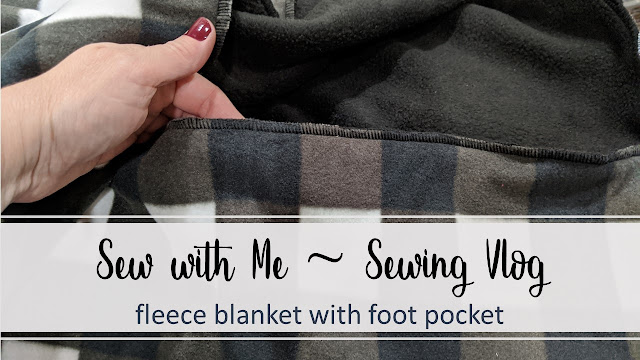
Serged Fleece Blanket With Foot Pocket ~ Sew With Me

Image
Here is a fast project you can make in an afternoon! It is a serged, lined, fleece blanket with a pocket for your feet! I made this one very large for an adult but it would be easy to adapt for children. Fabric: Fleece from Hobby Lobby Overlock/Serger: Bernette 334DS Sewing Machine: Bernina 770QEE Thread: Overlock cones, and Wooly Nylon This project used 2.5 yards of each fabric for a finished blanket 6 feet long and 4.5 feet wide (72"x54"). The pocket is 16 inches deep. Check out my TeeSpring Shop

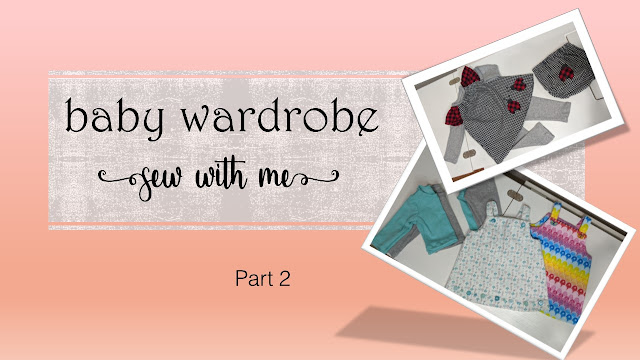
Baby Capsule Wardrobe ~ Pt 2 ~ Jumpers

Image
Here is the final part of the baby clothes series. If you click through to watch the video on YouTube, you will find timestamps in the description. Detail about this project: Pattern: Simplicity 8706 Fabric from JoAnn Fabrics Buttons from Hobby Lobby Sewing Machine: Bernina 770 QEE  Serger: Bernette 334DS Seam allowance: 3/8 inch To see the previous projects: Ladybug Dress Ladybug Bloomers Knit top and leggings Check out my sewing playlist: Sewing and Such

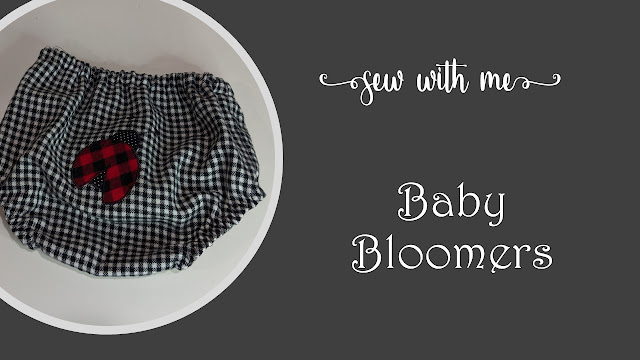
Sew With Me ~ Baby Bloomers

Image
This is the final video in the ladybug outfit. If you click through to watch on youtube, there are timestamps in the description.  Click here to see how to applique . Click here to see how to make the dress . The entire outfit from cutting out to finish (including the applique) took about 2 hours. It actually takes more time if I film it!  A few details about this project: ~ Fabric from JoAnn Fabrics, and Hobby Lobby ~Sewing machine: Bernina 770QE ~ Overlock/Serger Bernette 334DS ~ Pattern: Butterick 6549 ~ 1/4 inch and 1/2 inch elastic See more sewing related videos: Sewing and Such  Get cute sewing related gifty items at my TeeSpring Shop Looking for Essential Oil videos? Essentially Everything

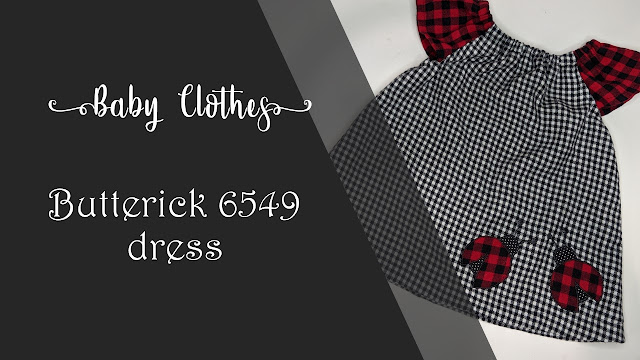
Raglan Sleeved Baby Dress - Sew with Me

Image
Last time I showed you the basics of applique, this week we sew it all together!  The project is a flannel baby dress and bloomers with ladybug applique. The bloomers will be the next video! Sew with me as we make a complete dress. This is a simple and easy style. Even though I am making an infant-sized dress, this style pattern can be found in all sizes and the information is the same. If you click through to watch on YouTube, I have included the timestamps in the description so you can zoom to the part you need.  A few details about this project: ~ Fabric from JoAnn Fabrics, and Hobby Lobby ~Sewing machine: Bernina 770QE ~ Overlock/Serger Bernette 334DS ~ Pattern: Butterick 6549 ~ 1/4 inch elastic See more sewing videos here: Sewing and Such Get cute sewing related gifty items here: TeeSpring Shop

Let's Fix Those Shallow Pockets on Ladies Pants

Image
I know I am not alone in noticing how skimpy pockets are in ladies clothing. I was comparing my jean pockets to my husbands and it was pretty annoying.  His pockets went midway down his thigh where mine were finished just below the pocket opening. That is less than two inches deep!   Any other ladies have their phone fall our of their front pocket just by bending over? I use my pockets and they need to be practical.  In today's video, I add an extension to my jean pockets and get deep pockets!  Check out my other sewing related videos on the playlist Sewing and Such  If you like my video please consider clicking "like" and "subscribe." YouTube has changed their algorithm and it is the only way others may eventually find my videos. :) 

How Do I Wind a Bobbin Anyway?

Image
This weeks video is all about bobbins and how to get thread on them.  See other sewing related videos here:  Sews2Reap YouTube Channel

Parts of the Sewing Machine and Threading

Image
Let's learn the names of the parts of the machine and how to thread it up. This is a basic tutorial on two different machines with traditional style bobbins.  Here you can see the size difference between the two machines!  I didn't label the feed dogs because there just wasn't room, but they are the jagged teeth below the presser foot on both machines.  The spool pin is on the back of this machine.  I have more sewing videos up  on my YouTube Channel . Much more to come!

Setting Up Your Sewing Kit

Image
This week I go over my most used and favorite sewing supplies.  Watch below  I am working on a series of sewing tutorials.  Coming soon: the parts of the sewing machine and how to thread it. Want to jump right in and start sewing? Here is my  tutorial on making pillowcases.  

Fast Fun Art

Image
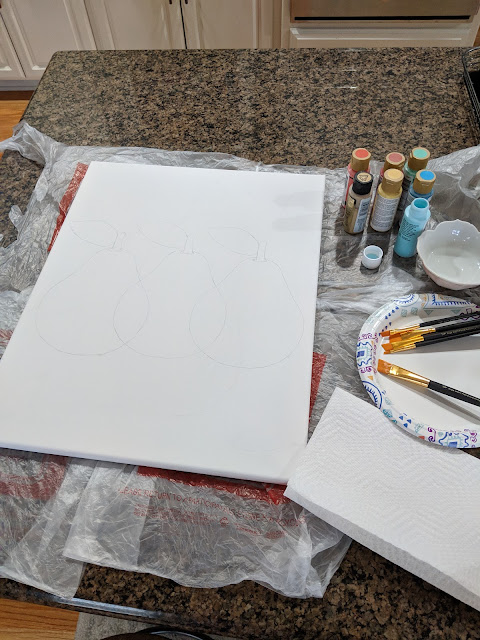
This week I did a quick painting to finish out the breakfast nook. It took about an hour start to finish.  I printed out a pear silhouette and used it as a stencil. I personally really love the metallic gold leaves.  Here are the two pieces I did for this room in the same colors using the same paints.