Pillowcase Sewing Tutorial
In my everyday life, I am a sewing teacher and homeschool mom. That is what I went to college for, and it really is my passion. I am doing a few videos with step by step instructions for my sewing students. This lets them continue to work on projects at home or remake them with confidence. But, anyone can sew along!
Here is my first sewing tutorial video on pillowcases. It is the first project my students make and one that does not need a paper pattern. This is a long step by step tutorial with close up images and explanations on why I do what I am doing.
Scroll below for written step by step instructions.
Comming soon - reversible tote bag with variations.
Supplies:
¾ yard cotton woven fabric for the body of the pillowcase
1/3 yard cotton woven fabric for the band of the pillowcase
Thread to match fabrics
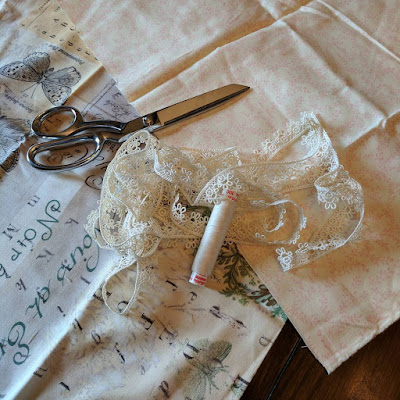
1 ½ yard lace (optional)
Thread to match lace
Two pillowcases will be made during the video, scenes will go back and forth between the projects. There are title slides to make it easy to fast forward to different sections.
Seam finishes shown will be: zig zag, mock French, and overlock
Sewing machine settings: straight stitch of 3, zig zag width of 3 length of 2
- Trim selvage off all fabrics. Selvage is the tightly woven edge usually with manufacturer information printed on it.
- Fold fabric right sides together. The ¾ yard body piece will measure approximately 22 by 27 when folded, the band will measure 22 by 12 inches when folded properly.
- Set your straight stitch to a length of 3 and sew with a 5/8” seam allowance the body piece along the long edge and one short edge leaving the third edge open.

- Press seams with an iron.
- Straight stitch the band along the short edge only.
- Press seams open with an iron. Fold the band wrong sides together long edge to long edge, matching the cut edges. Press.
- Seam finish the body by choosing one of the options in the video. Zig Zag, Mock French, or Overlock
- Press.
- Match the band to the body on the open edge. Cut edges and right sides together. Straight stitch around the circle.
- Seam finish.

- Turn to right side and press.
- (optional) Apply lace, ribbon or top stitch.


Comments
Post a Comment